Using Remix
How to Deploy with Remix IDE on Cuckoo Chain
Cuckoo Chain is an Arbitrum Layer-2 designed for hyper-growth. As it is built with the Arbitrum, Cuckoo Chain is EVM compatible, allowing you to easily port your existing Ethereum-based smart contracts without modifying the code.
In this guide, we will show you how to deploy a smart contract on Cuckoo Chain using the Remix IDE.
This tutorial assumes you have Sepolia ETH and have bridged it to the Cuckoo Testnet Network.
1. Deploy Using Remix
First, ensure you have added the Cuckoo network to your MetaMask. Follow the step-by-step guide to add the Cuckoo Testnet to MetaMask.
Now we are ready to begin!
Remix is a no-setup tool with a graphical interface for developing smart contracts. It allows for easy deployment, debugging, interaction with smart contracts, and more. It's an excellent tool for testing quick changes and interacting with deployed contracts.
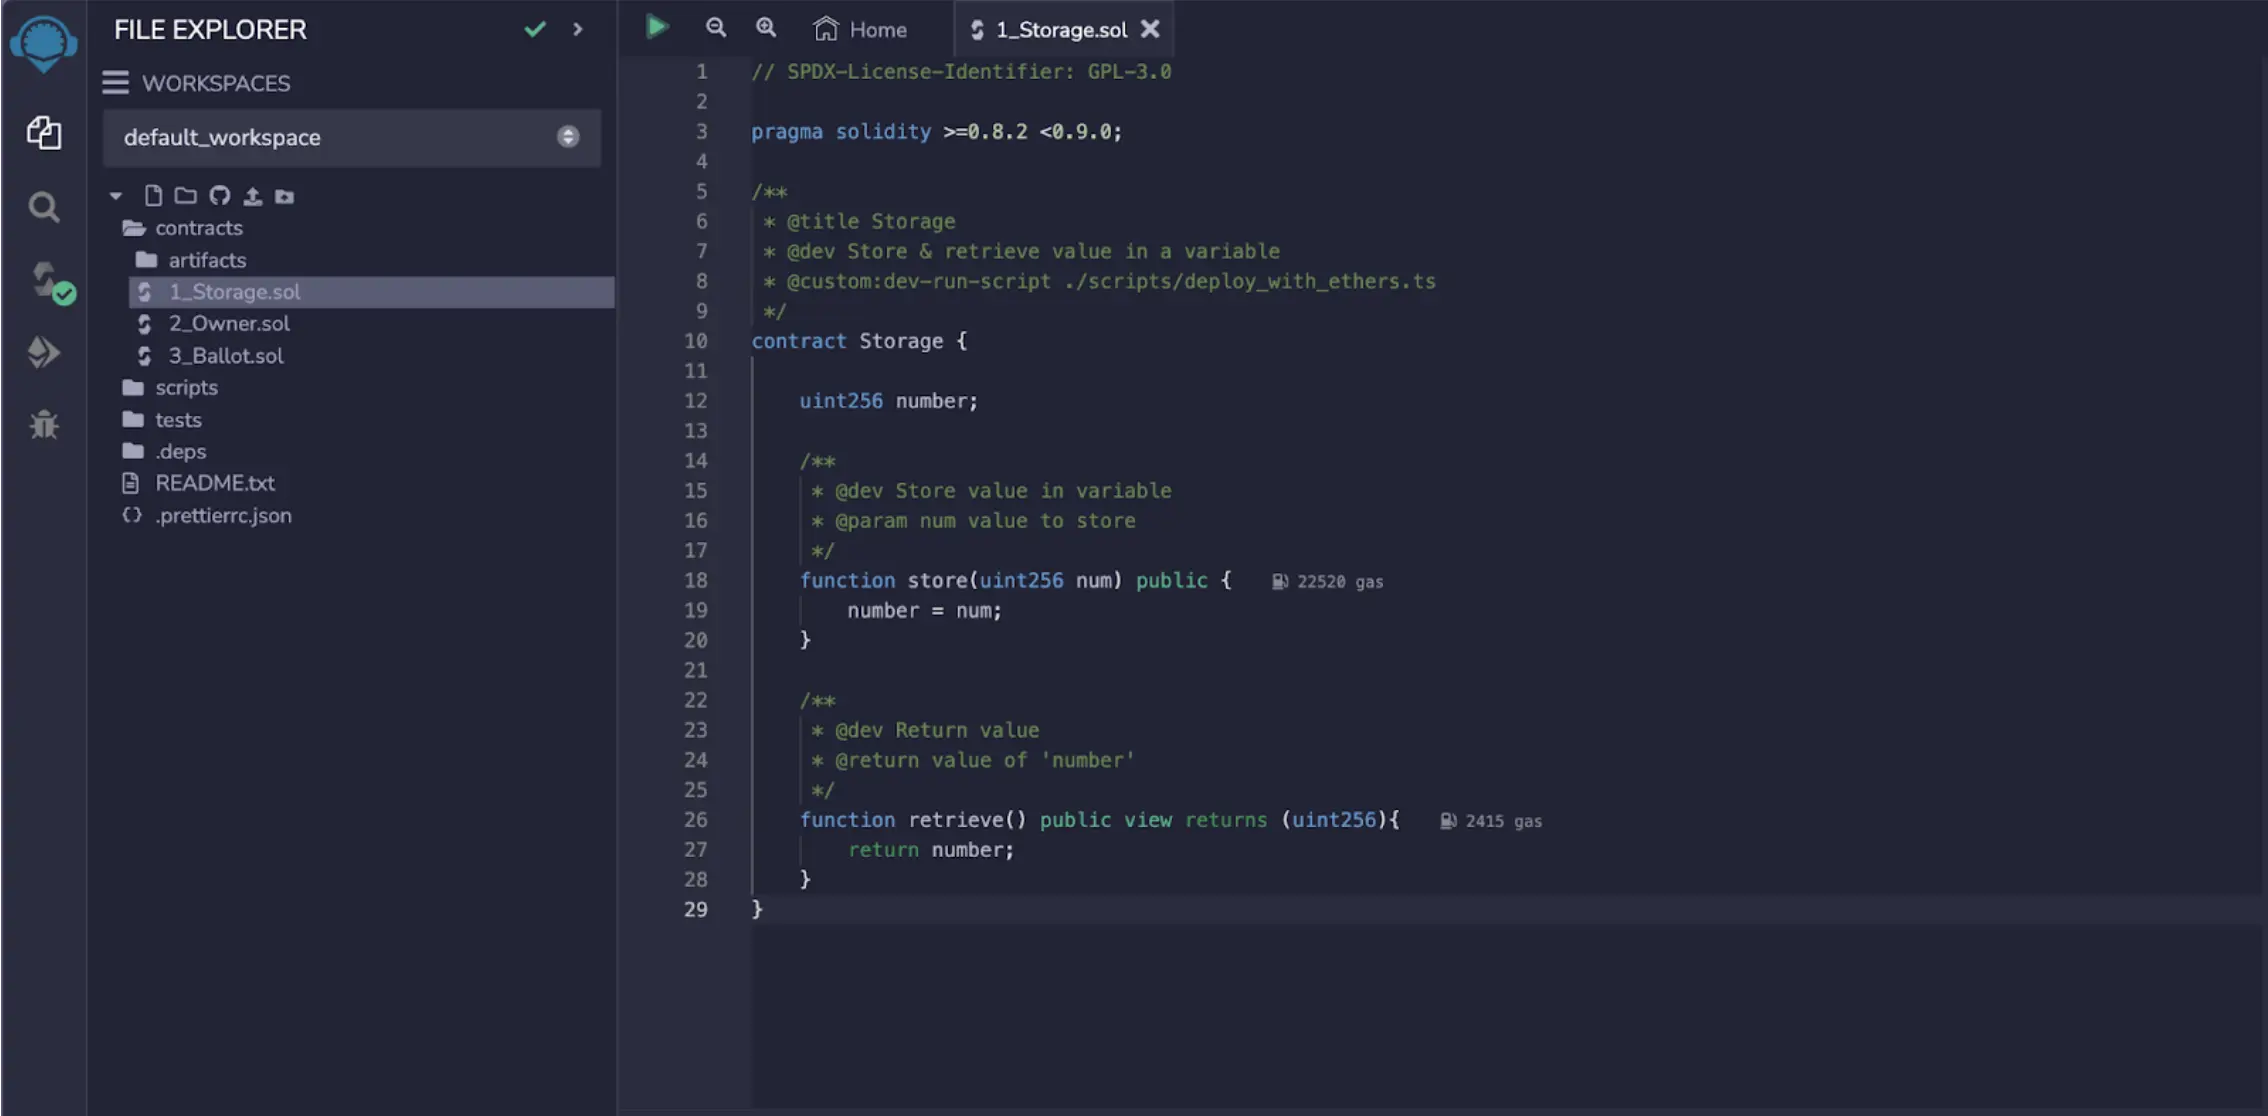
For this tutorial, we will deploy the '1_Storage.sol' smart contract that comes as an example in Remix, but you can use your own code. Here is the sample code you can paste into any .sol file:
1_Storage.sol
// SPDX-License-Identifier: GPL-3.0

pragma solidity >=0.8.2 <0.9.0;

contract Storage {
    uint256 number;

    function store(uint256 num) public {
        number = num;
    }

    function retrieve() public view returns (uint256) {
        return number;
    }
}
To compile your smart contract, go to the Solidity Compiler tab and select the contract you want to compile. Click on "Compile". You can also enable "Auto Compile" for automatic compilation whenever you change the contract code.
Make sure to open the advanced configurations and set the EVM version to London. This is to avoid issues with the PUSH0 opcode. You can read more on the issue with Optimism chains here.
Solidity Compiler Tab
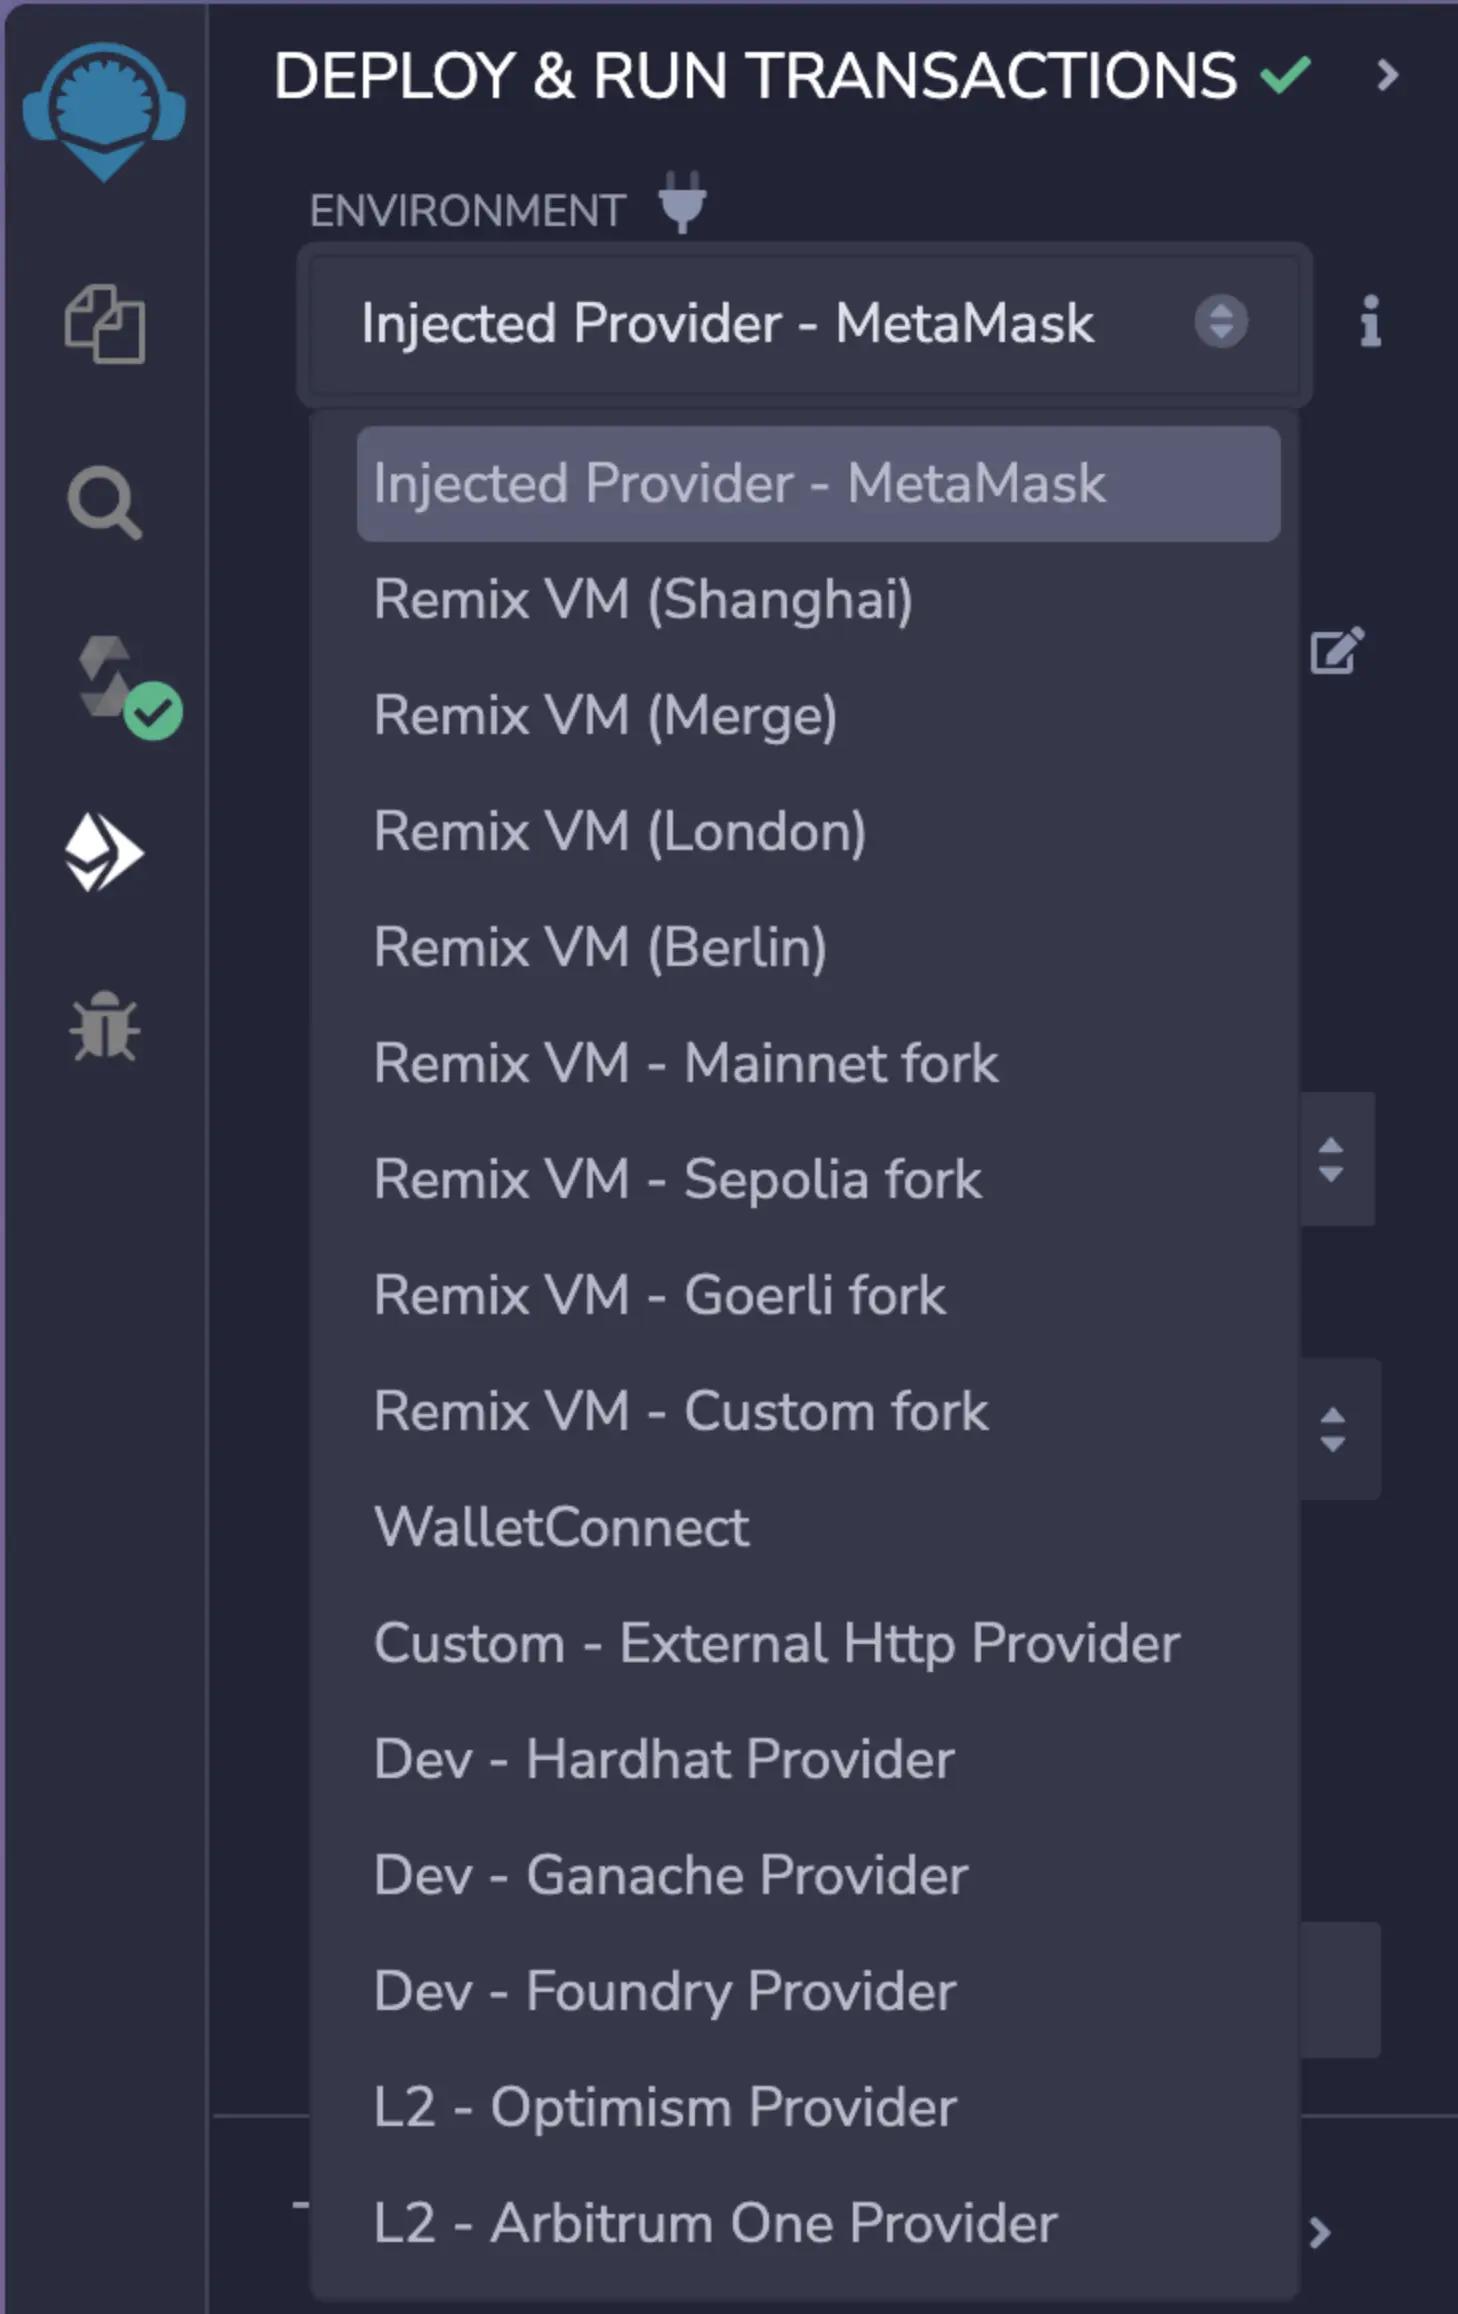
Once the smart contract is compiled successfully, switch to the "Deploy & Run Transactions" tab.
In the "Environment" dropdown menu, select "Injected Provider - MetaMask". This will connect your MetaMask to Remix and allow you to make transactions from the connected wallet.
Make sure to have Cuckoo Chain as your selected network in MetaMask before deploying.
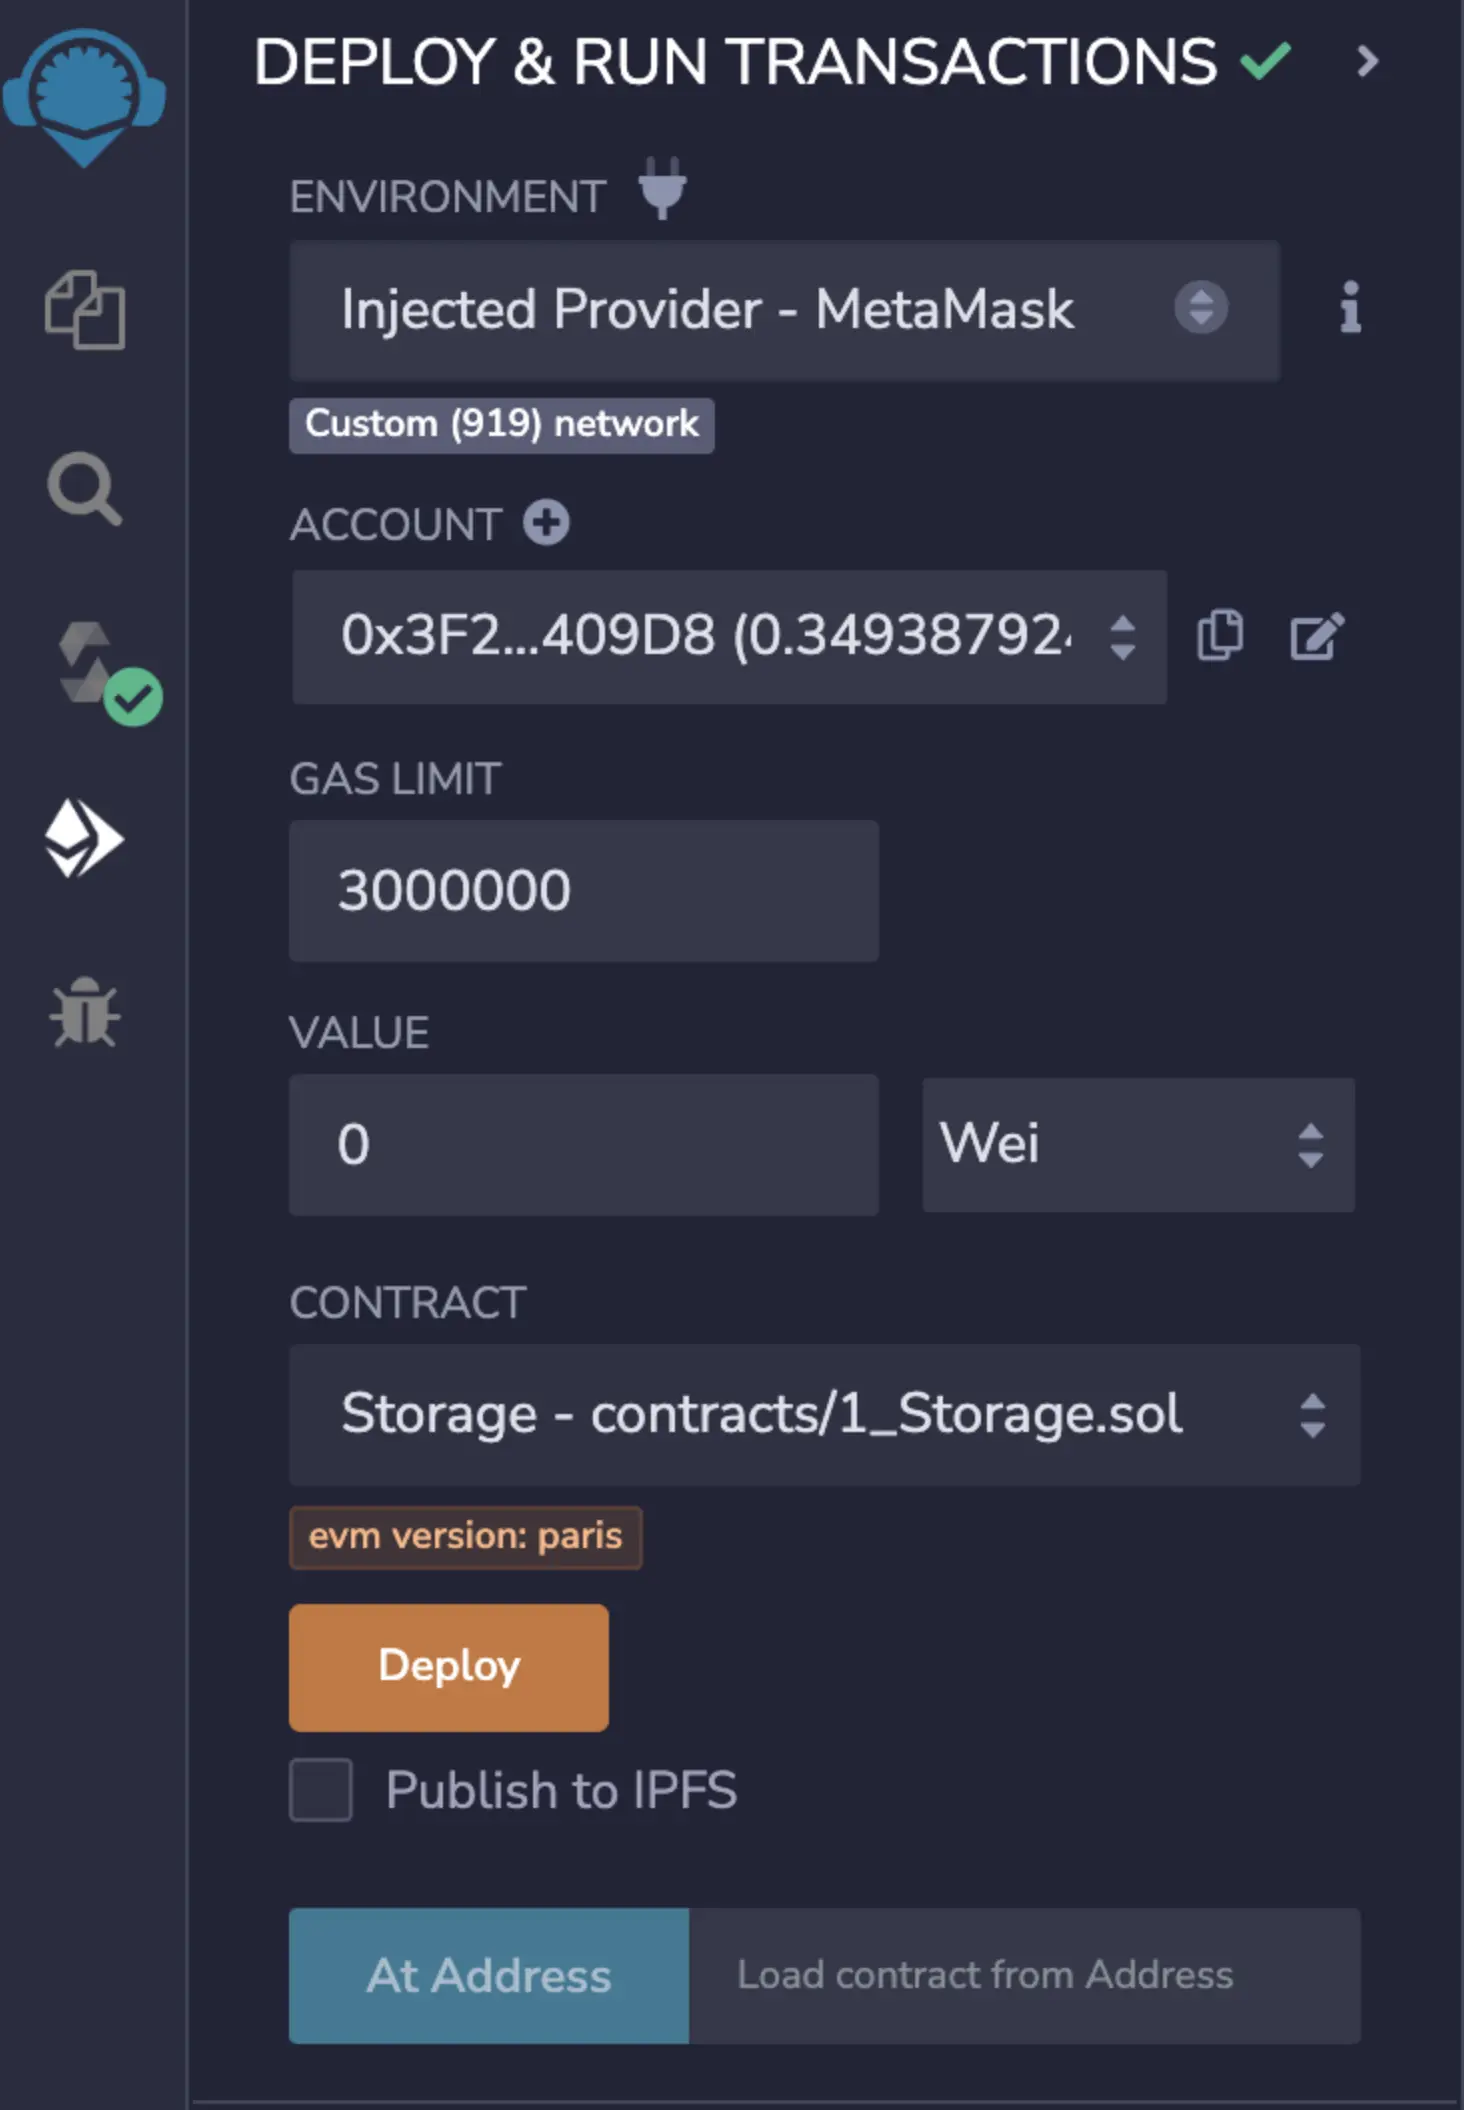
Select the compiled contract you want to deploy and click 'Deploy'.
Now, MetaMask should pop up and ask you to confirm the transaction with super low fees.
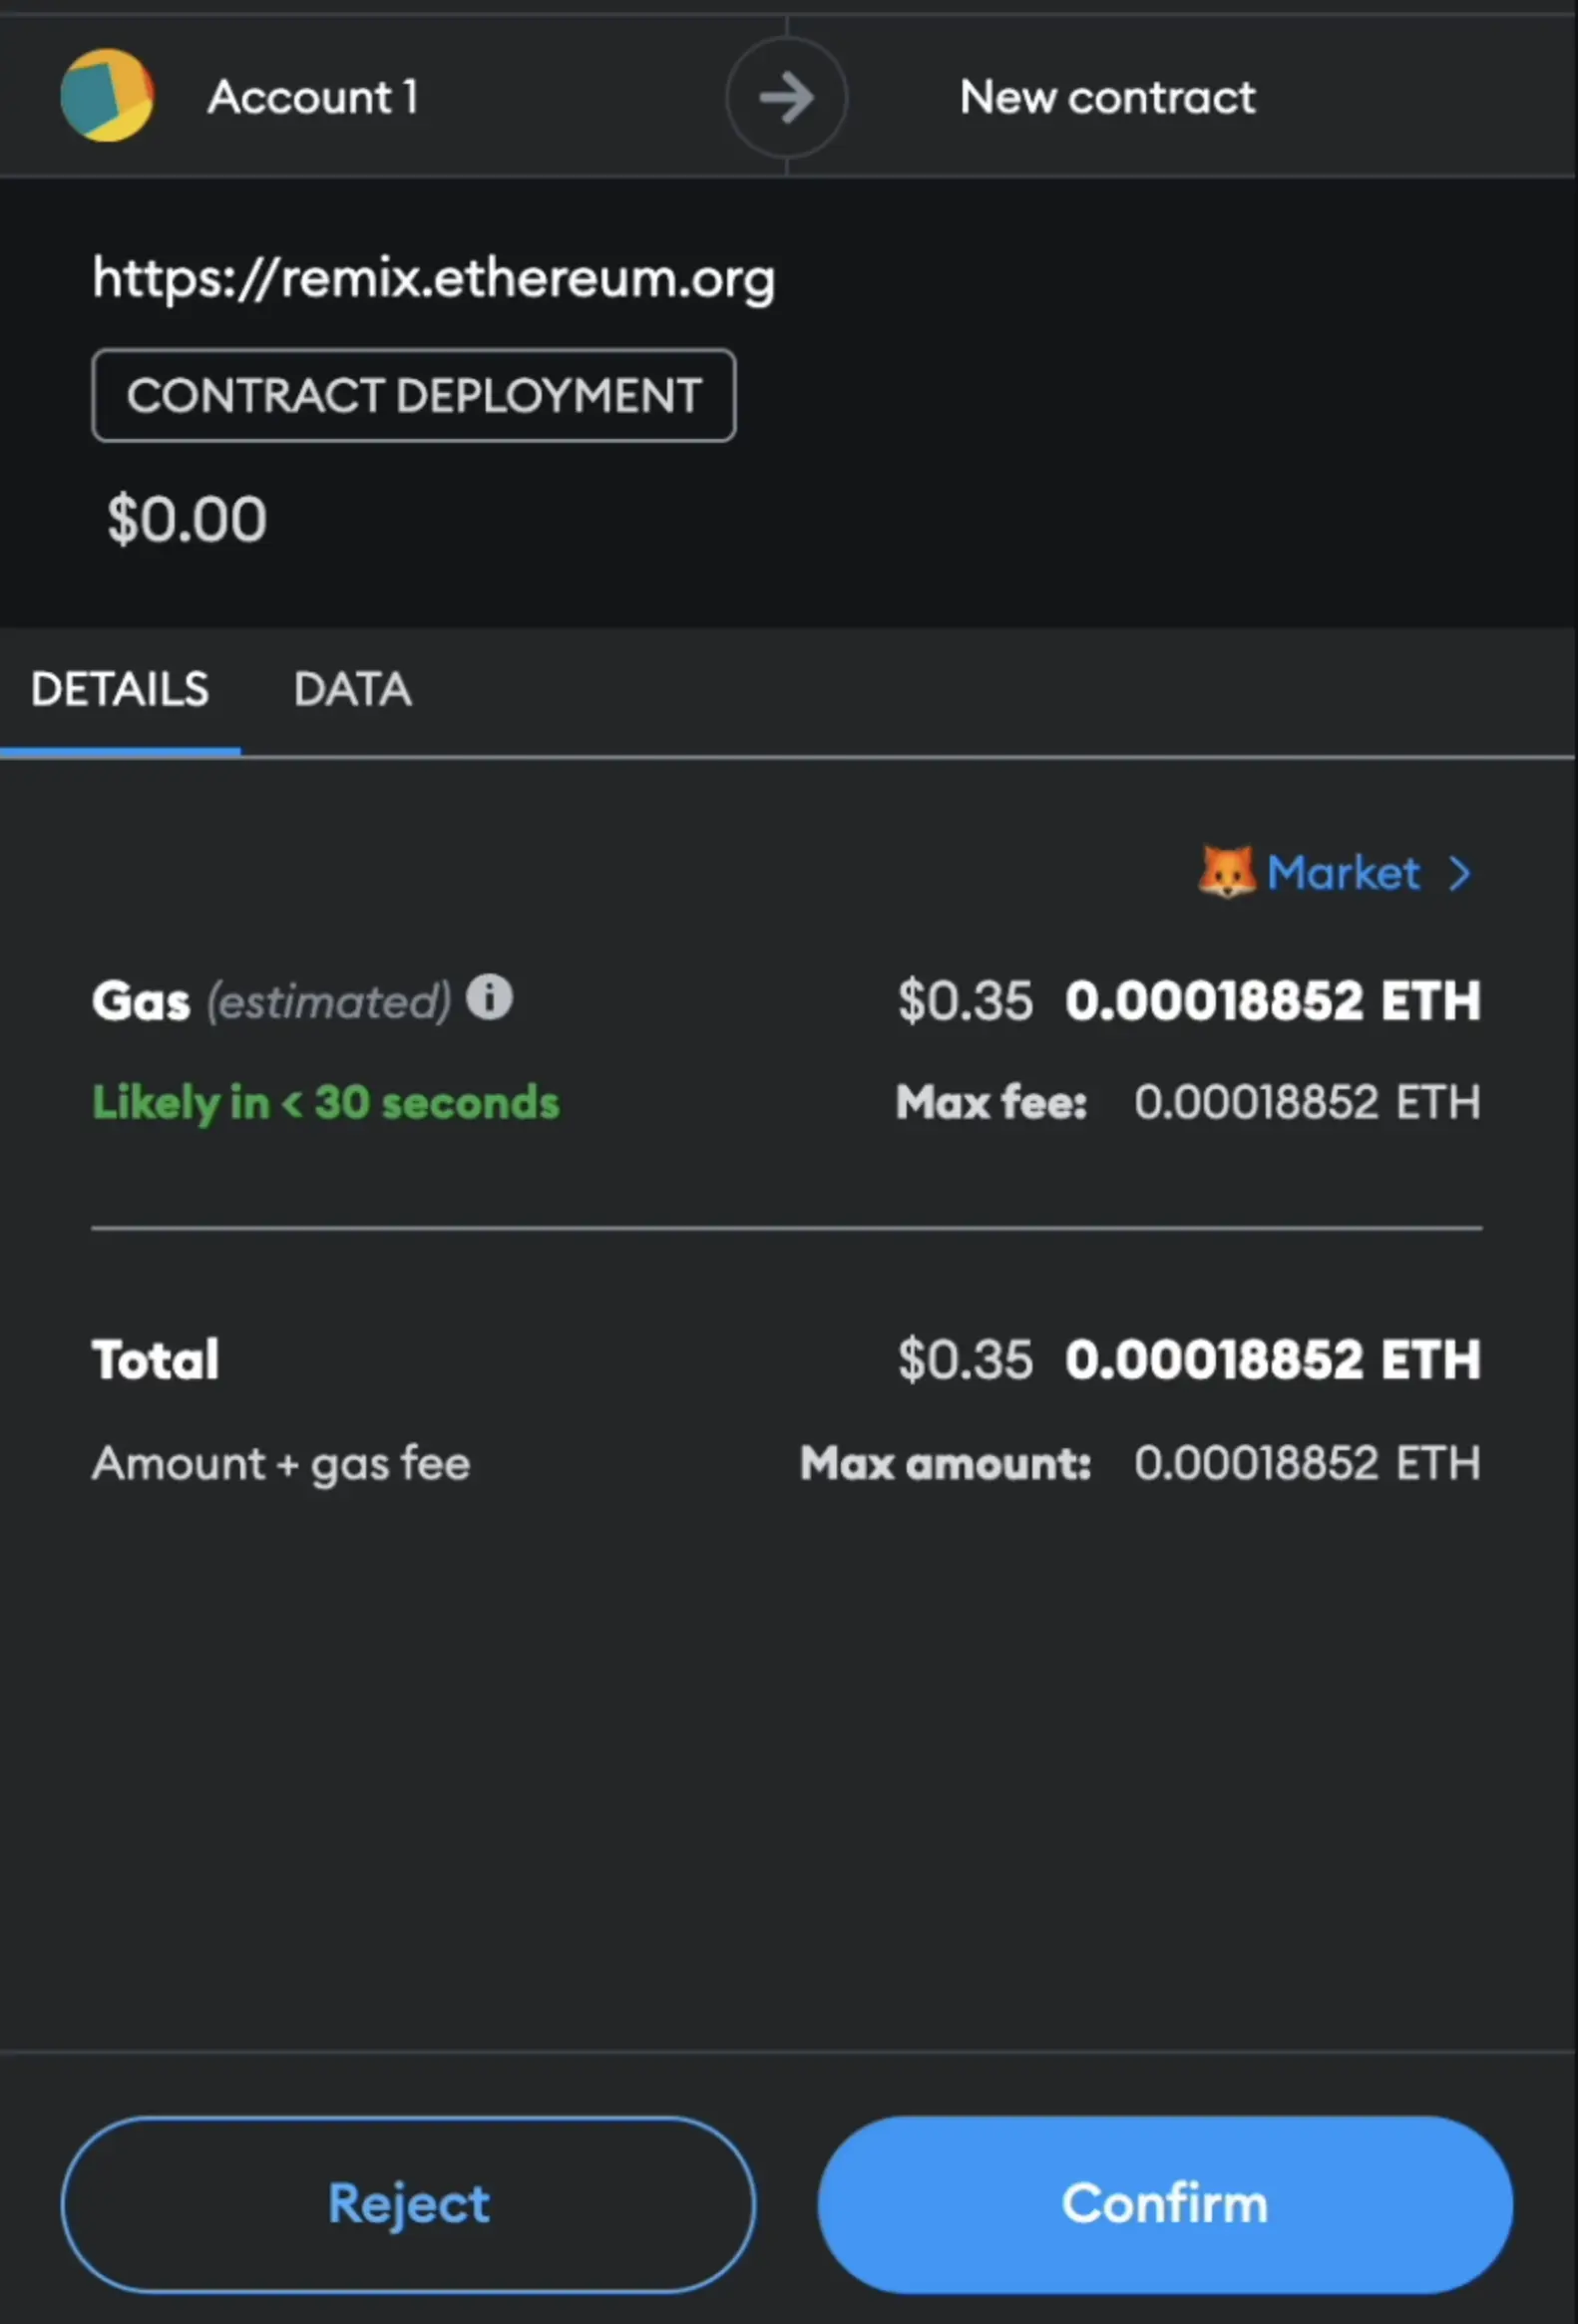
CONGRATULATIONS! You just deployed your first smart contract to Cuckoo Chain.
2. How to Explore and Interact with Your Deployed Smart Contract
Now that you have deployed your first smart contract to Cuckoo Chain, let's see how to interact with it.
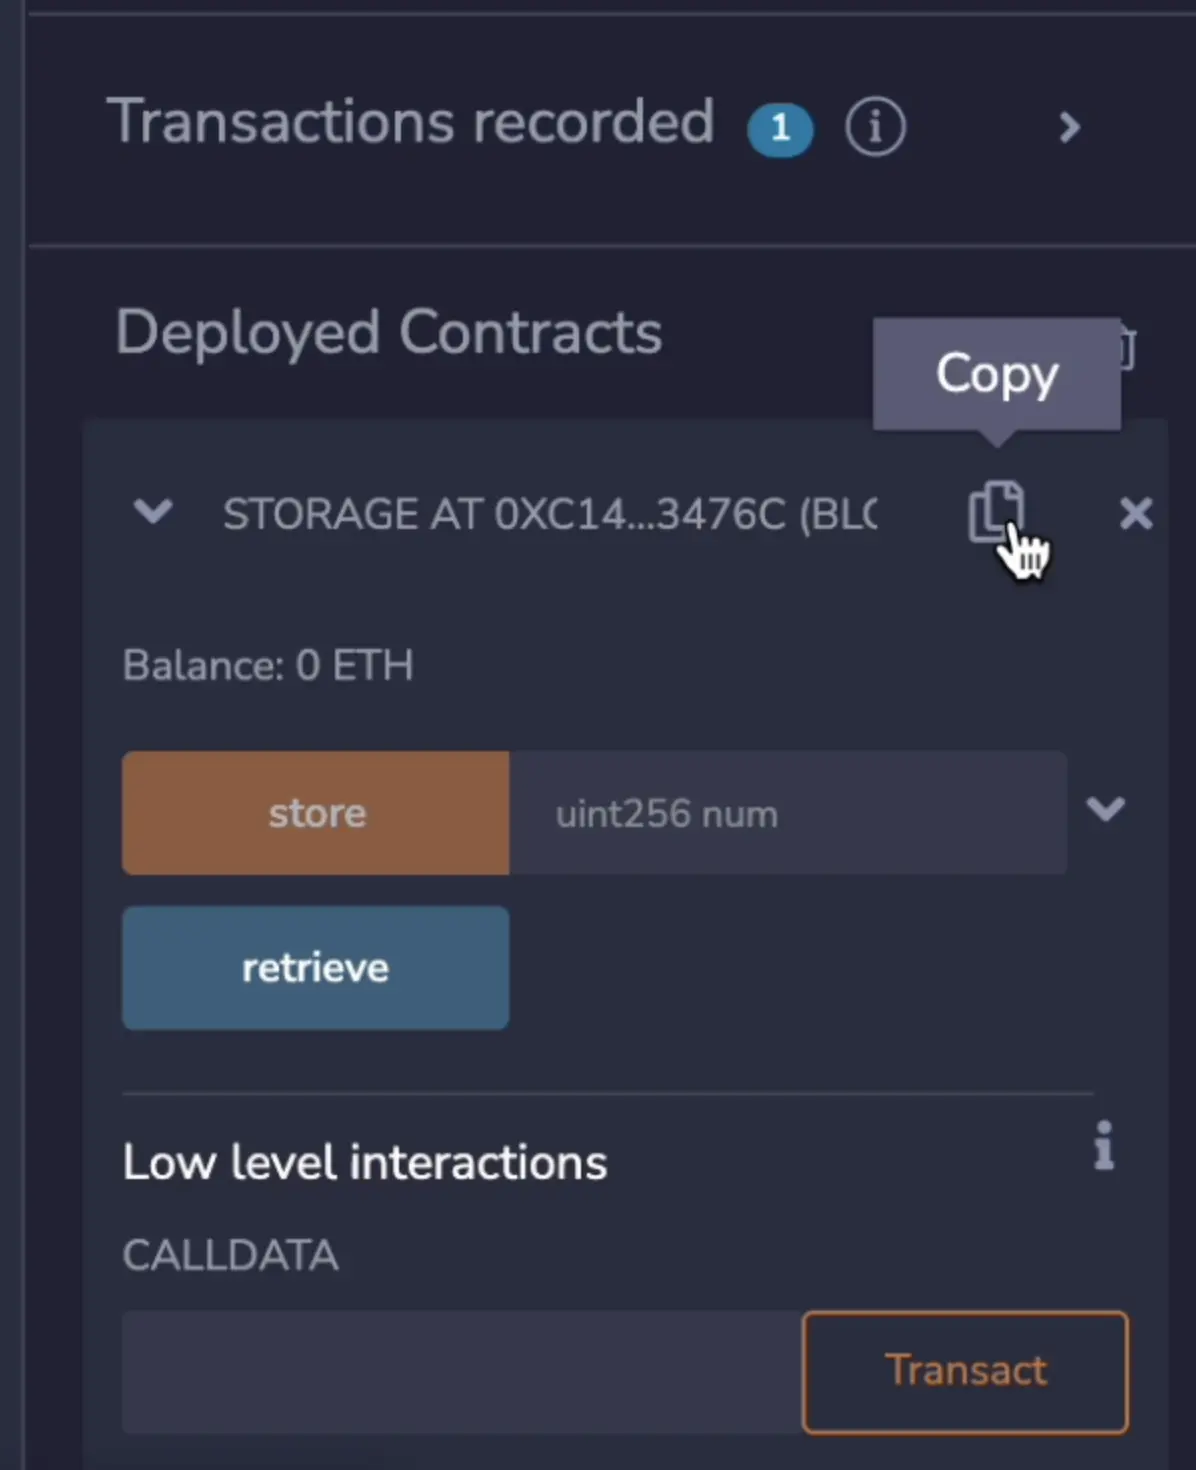
You will see your deployed smart contract below in the 'Deploy & Run Transactions' tab. You can use the Remix interface to call the methods defined in your smart contract and access its public variables.
We can also find our deployed smart contract in Blockscout, the Cuckoo block scanner. Copy the contract address from Remix, go to Blockscout, and paste it into the search bar.
The screenshot below shows our deployed smart contract, where you can see all transactions, the creator wallet, balance, and more!
Notice that if you call one of the smart contract methods in Remix, you should see the transaction pop up in this explorer. You can directly interact with your deployed smart contract with Remix.

You have now learned how to deploy a smart contract on Cuckoo Chain using the Remix online IDE!
In this tutorial, we also covered the Cuckoo bridge, block explorer, and how to interact with your contract.
To learn more about
Cuckoo Chain and how to turn your code into a business, join our Discord and say hello 👋